Pottery-Making: A Step-by-Step Guide
If you’ve ever been curious about how pottery is made, you’re in good company. While the art of pottery may appear intricate with its variety of techniques, most handcrafted pieces go through a similar sequence of steps, transforming raw clay into a stunning finished work.
In this guide, I’ll take you through the pottery-making journey in 7 easy stages, offering a close look at each step in the handcrafting process.
Step 1: Kneading the Clay
Once we’ve chosen the type and amount of clay—whether for high-fire or low-fire pieces—we can start kneading it to the thickness and size we want, depending on what we’re creating. We can do this manually with a rolling pin or use a specialized kneading machine.


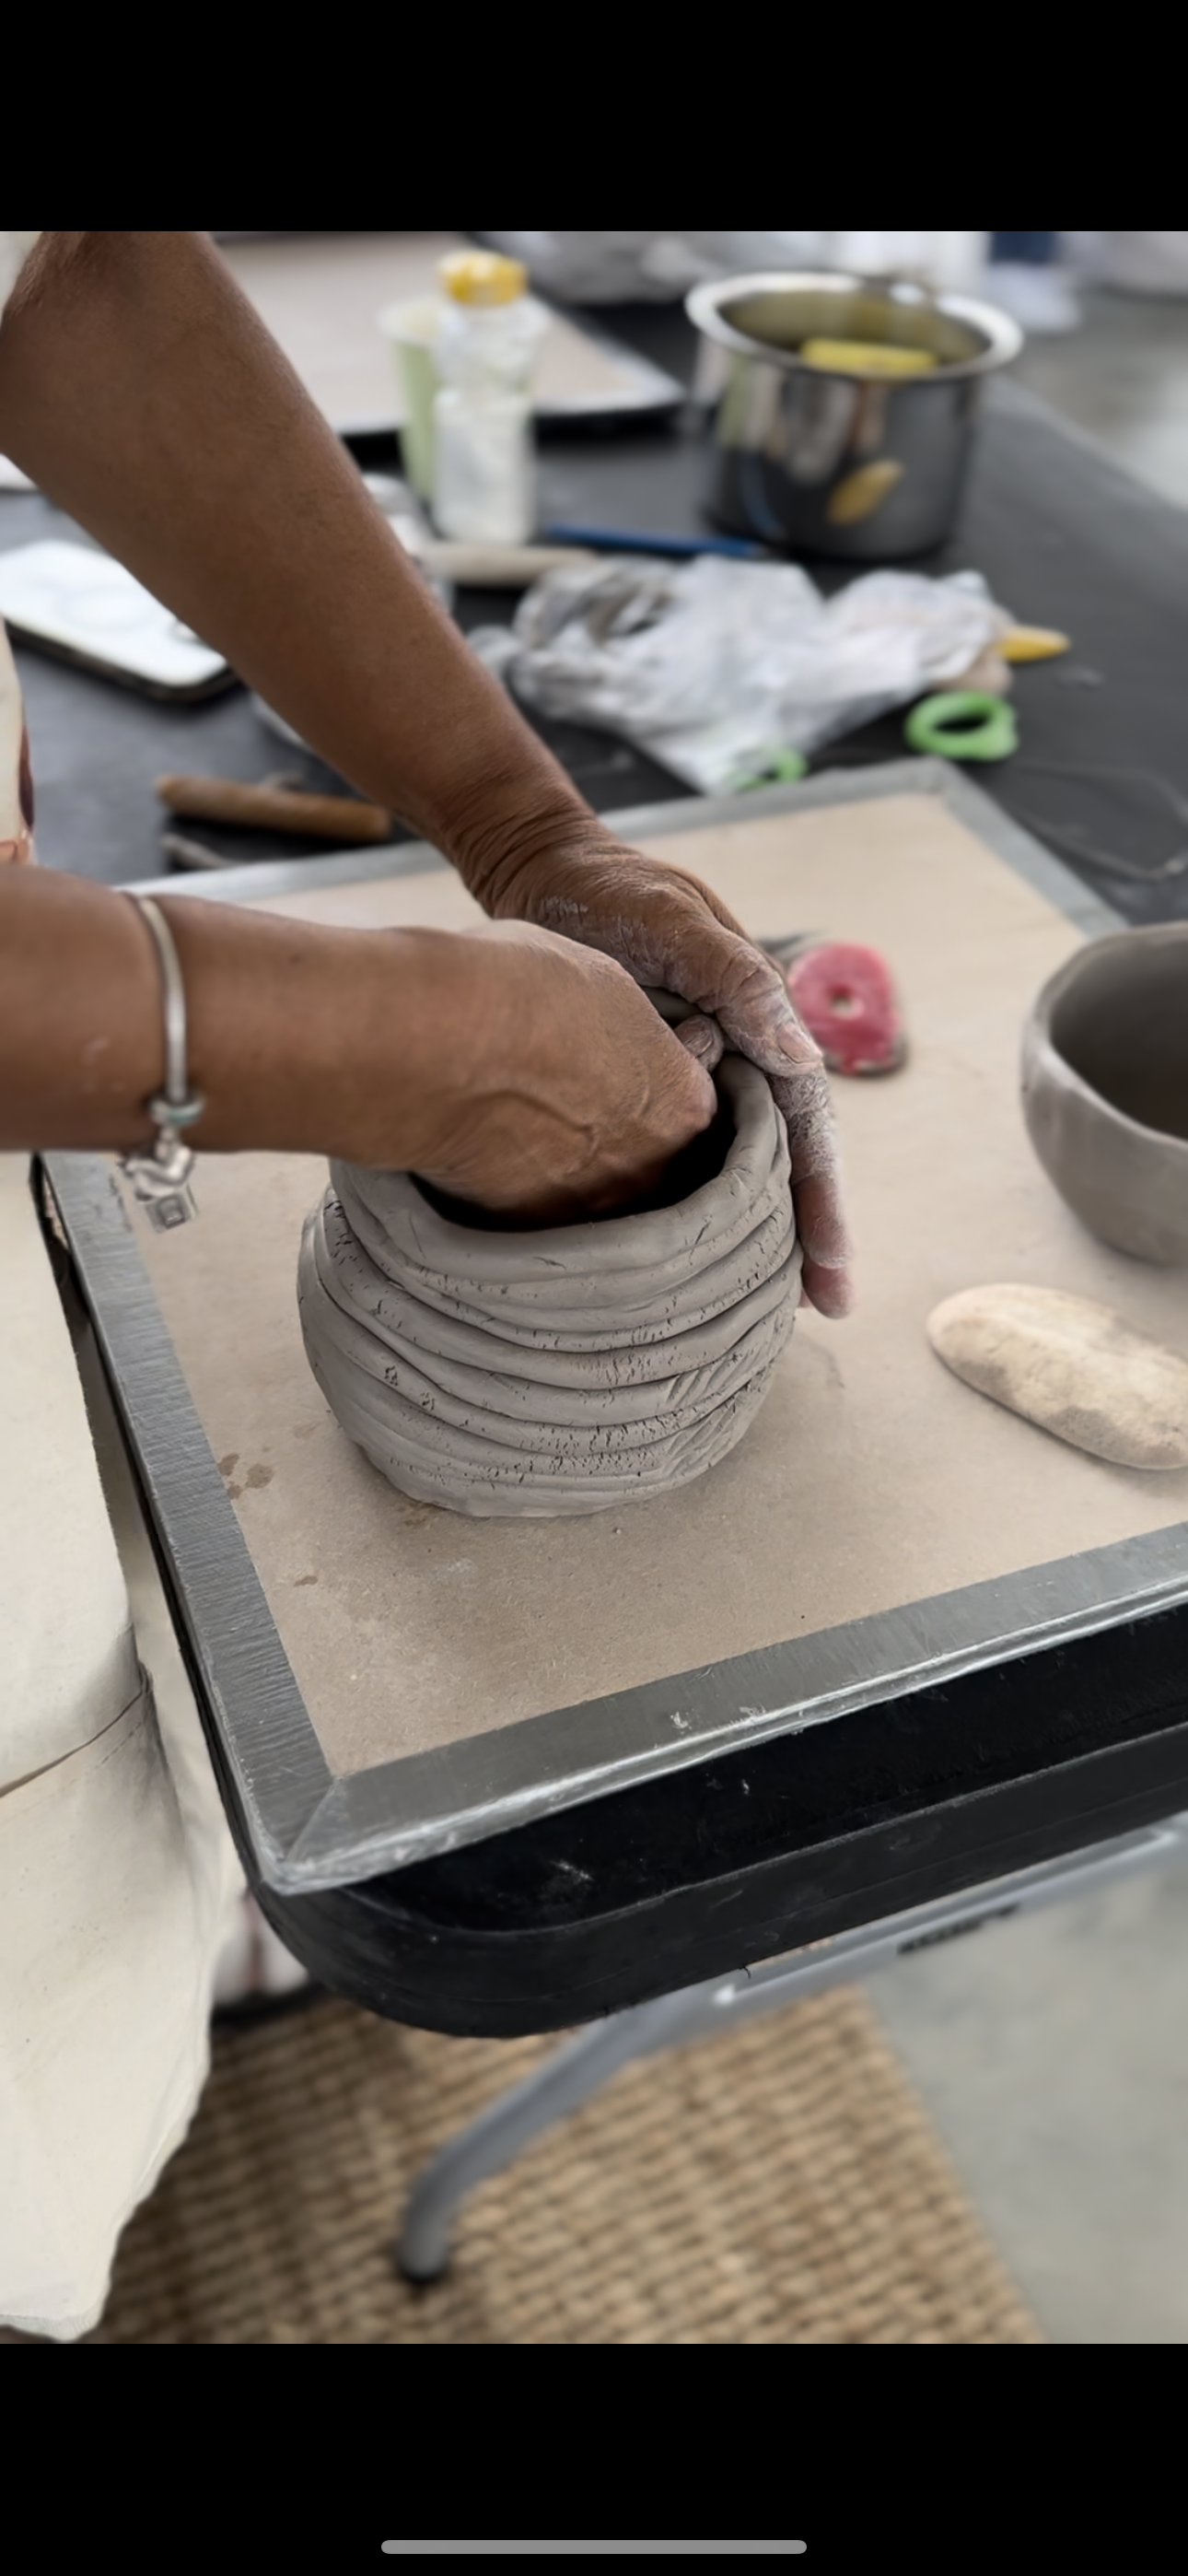
Step 2: Designing the Piece
With the clay kneaded and damp, we can start shaping the piece we want to create—whether it’s a plate, bowl, cup, decorative ornament, or vase, anything your creativity inspires. We’ll use stamps, textures, rollers, or even a simple knife to form it just the way we like.

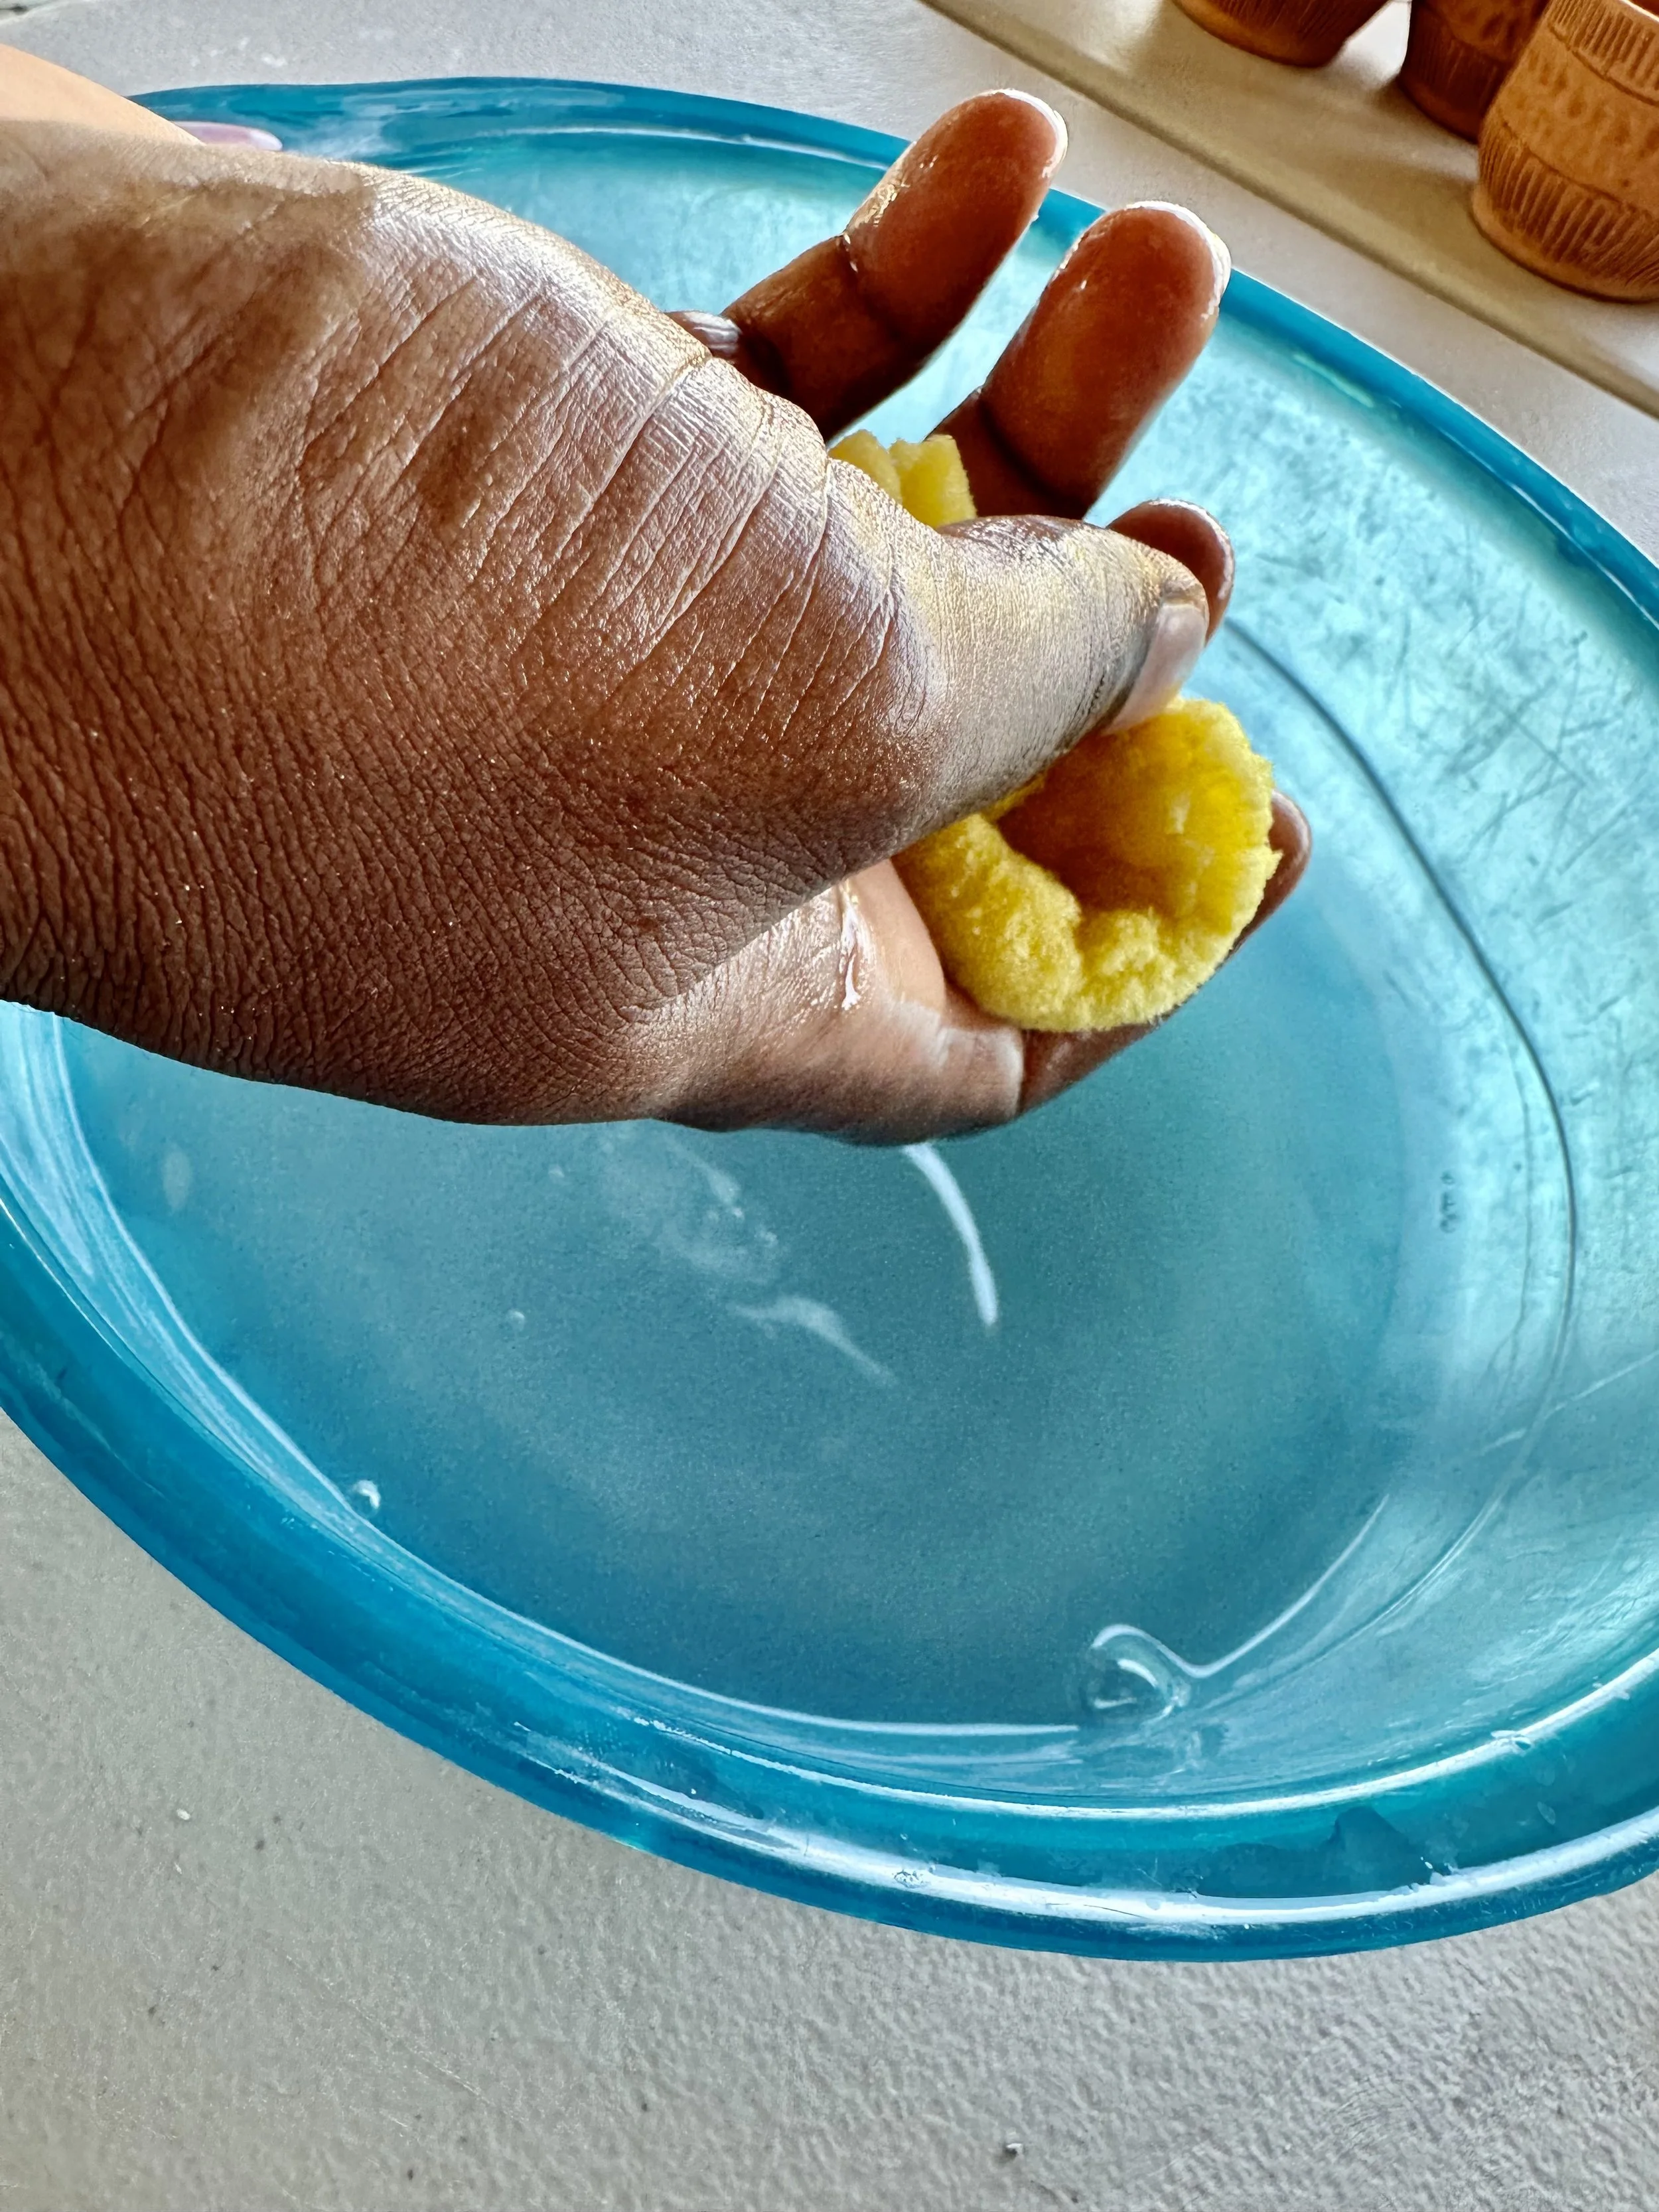
Step 3: Cleaning the Piece
Once we’ve finished the design and the piece is dry, we’ll take a damp sponge and gently clean the edges of our piece. This will help it come out as smooth and clean as possible after it goes into the kiln.

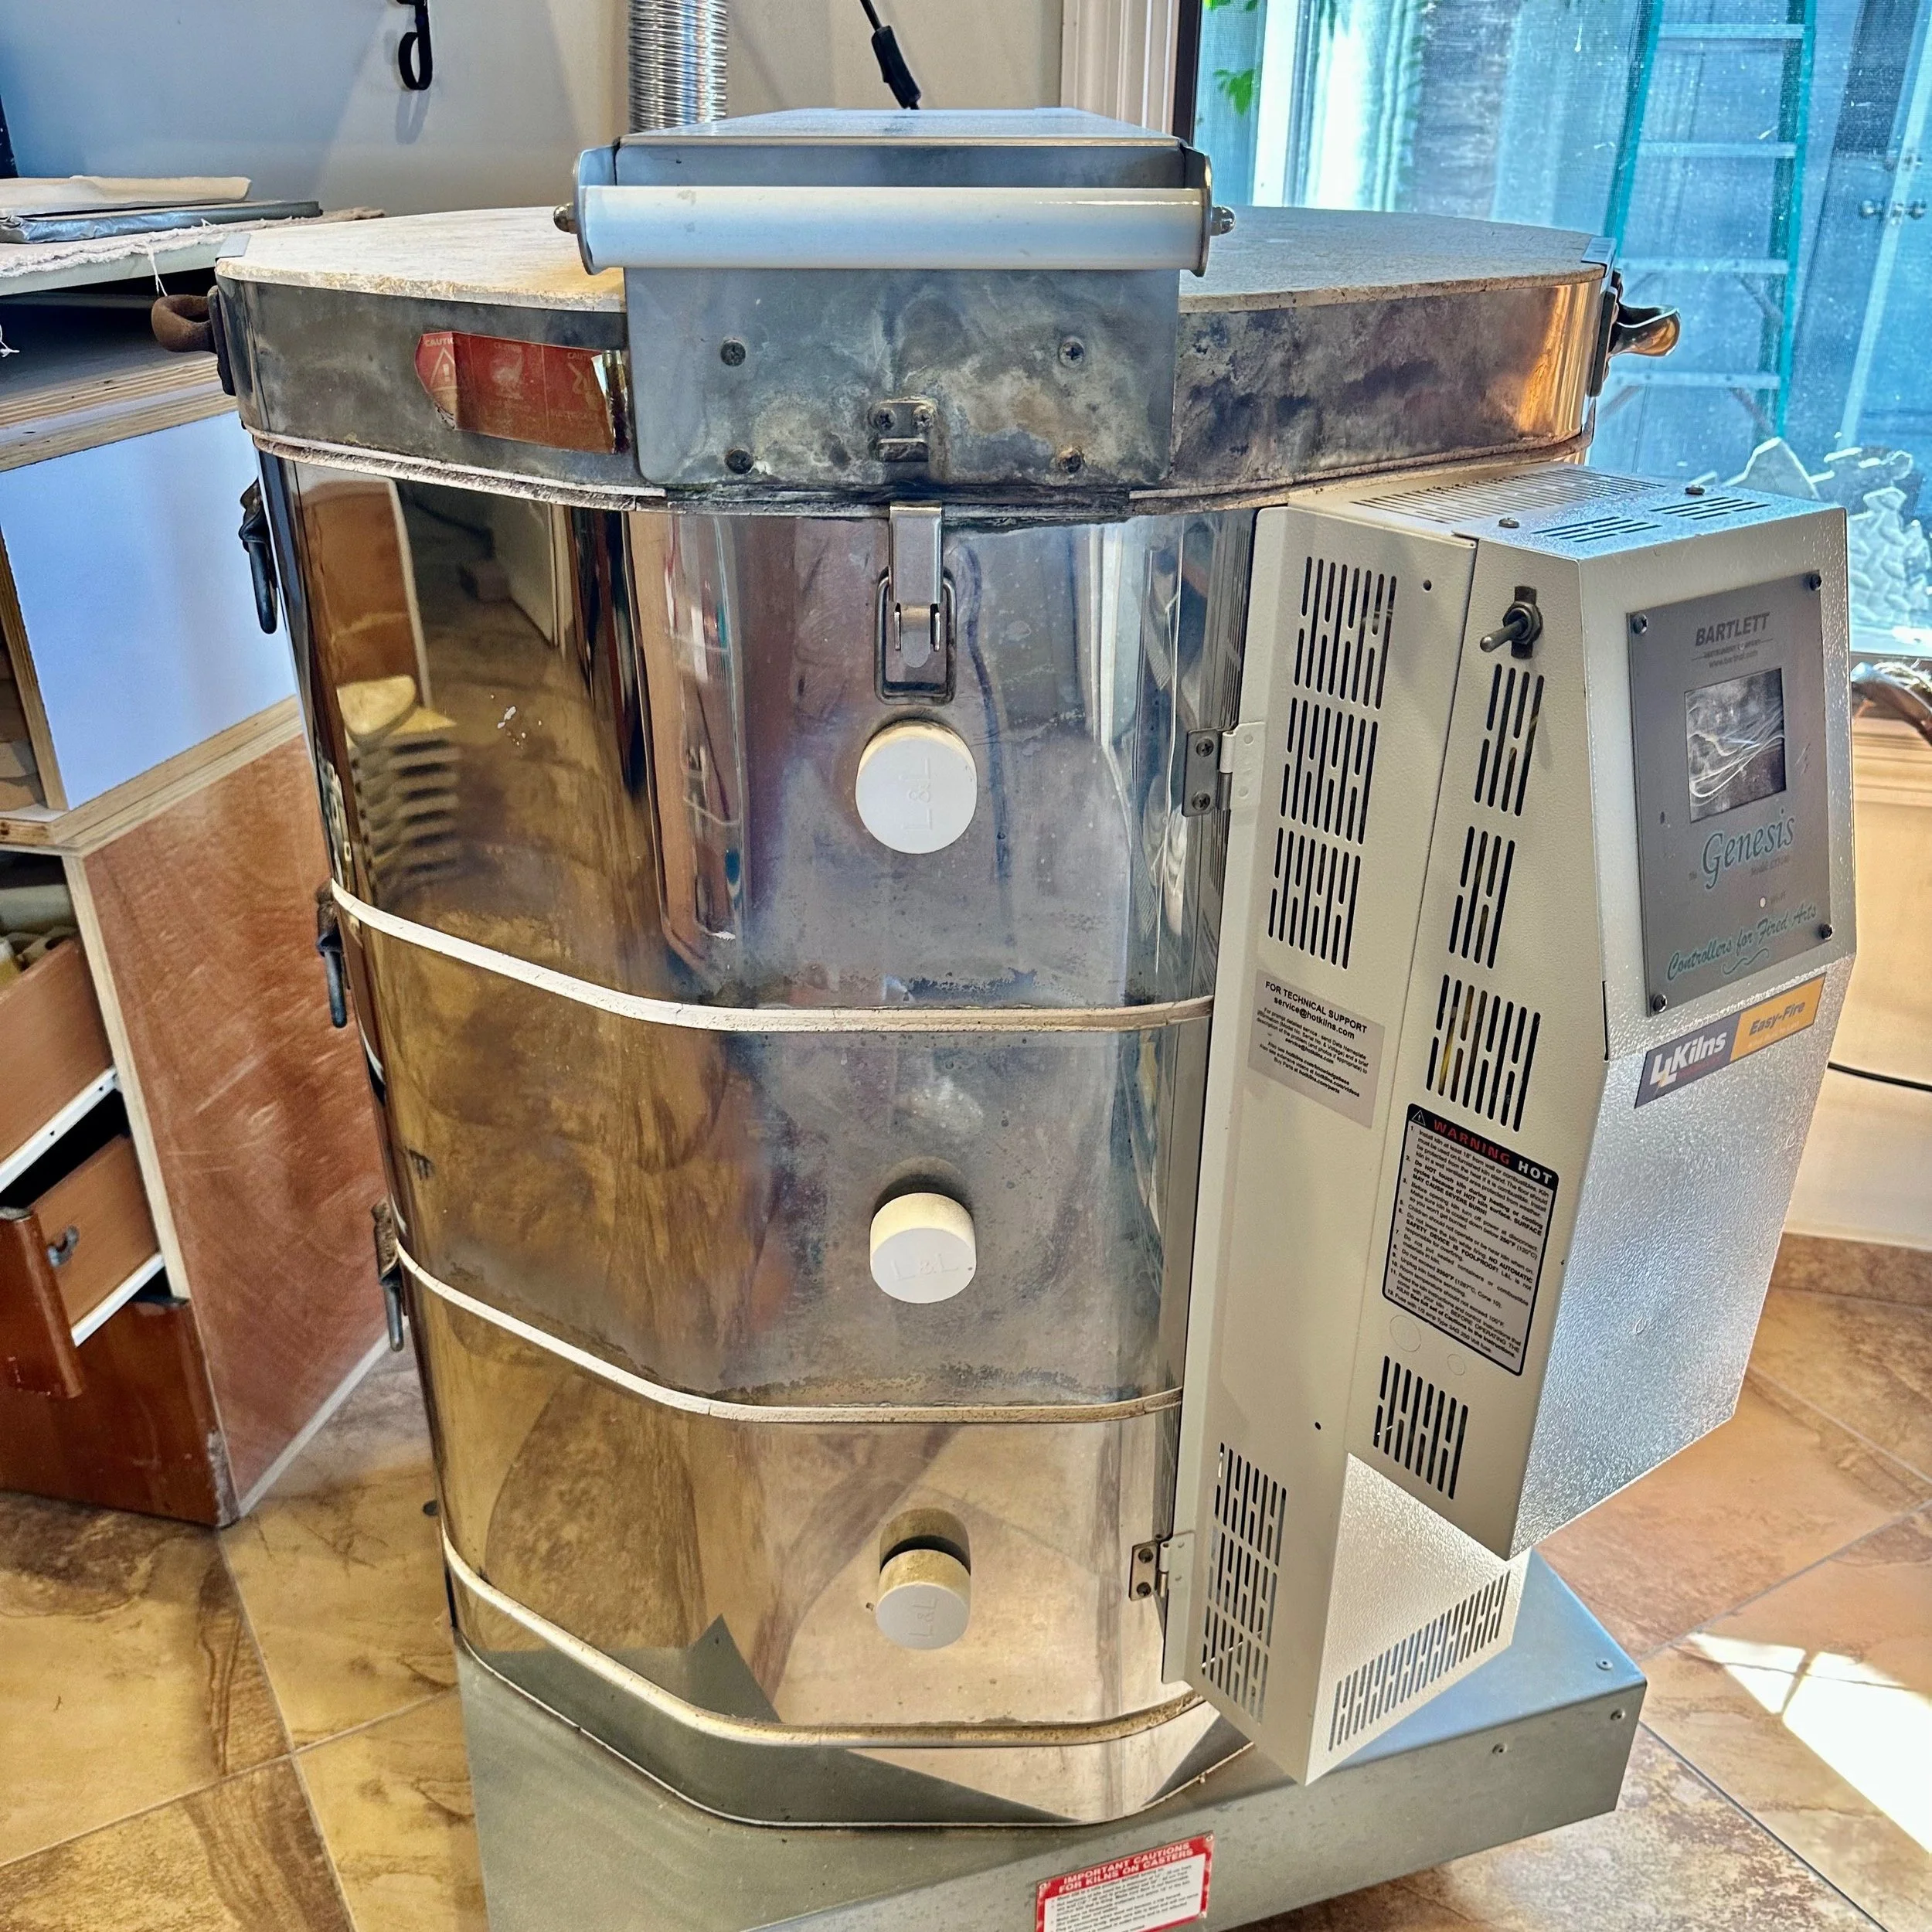
Step 4: First Firing
When the piece is ready for the kiln, we arrange everything according to the type of clay, starting from the bottom and stacking up with the right shelves. This takes patience, and we need to be careful to avoid damaging any pieces. Once the kiln is loaded, we set the temperature based on whether it’s high-fire or low-fire, and then we wait two to three days until it’s safe to remove the pieces.

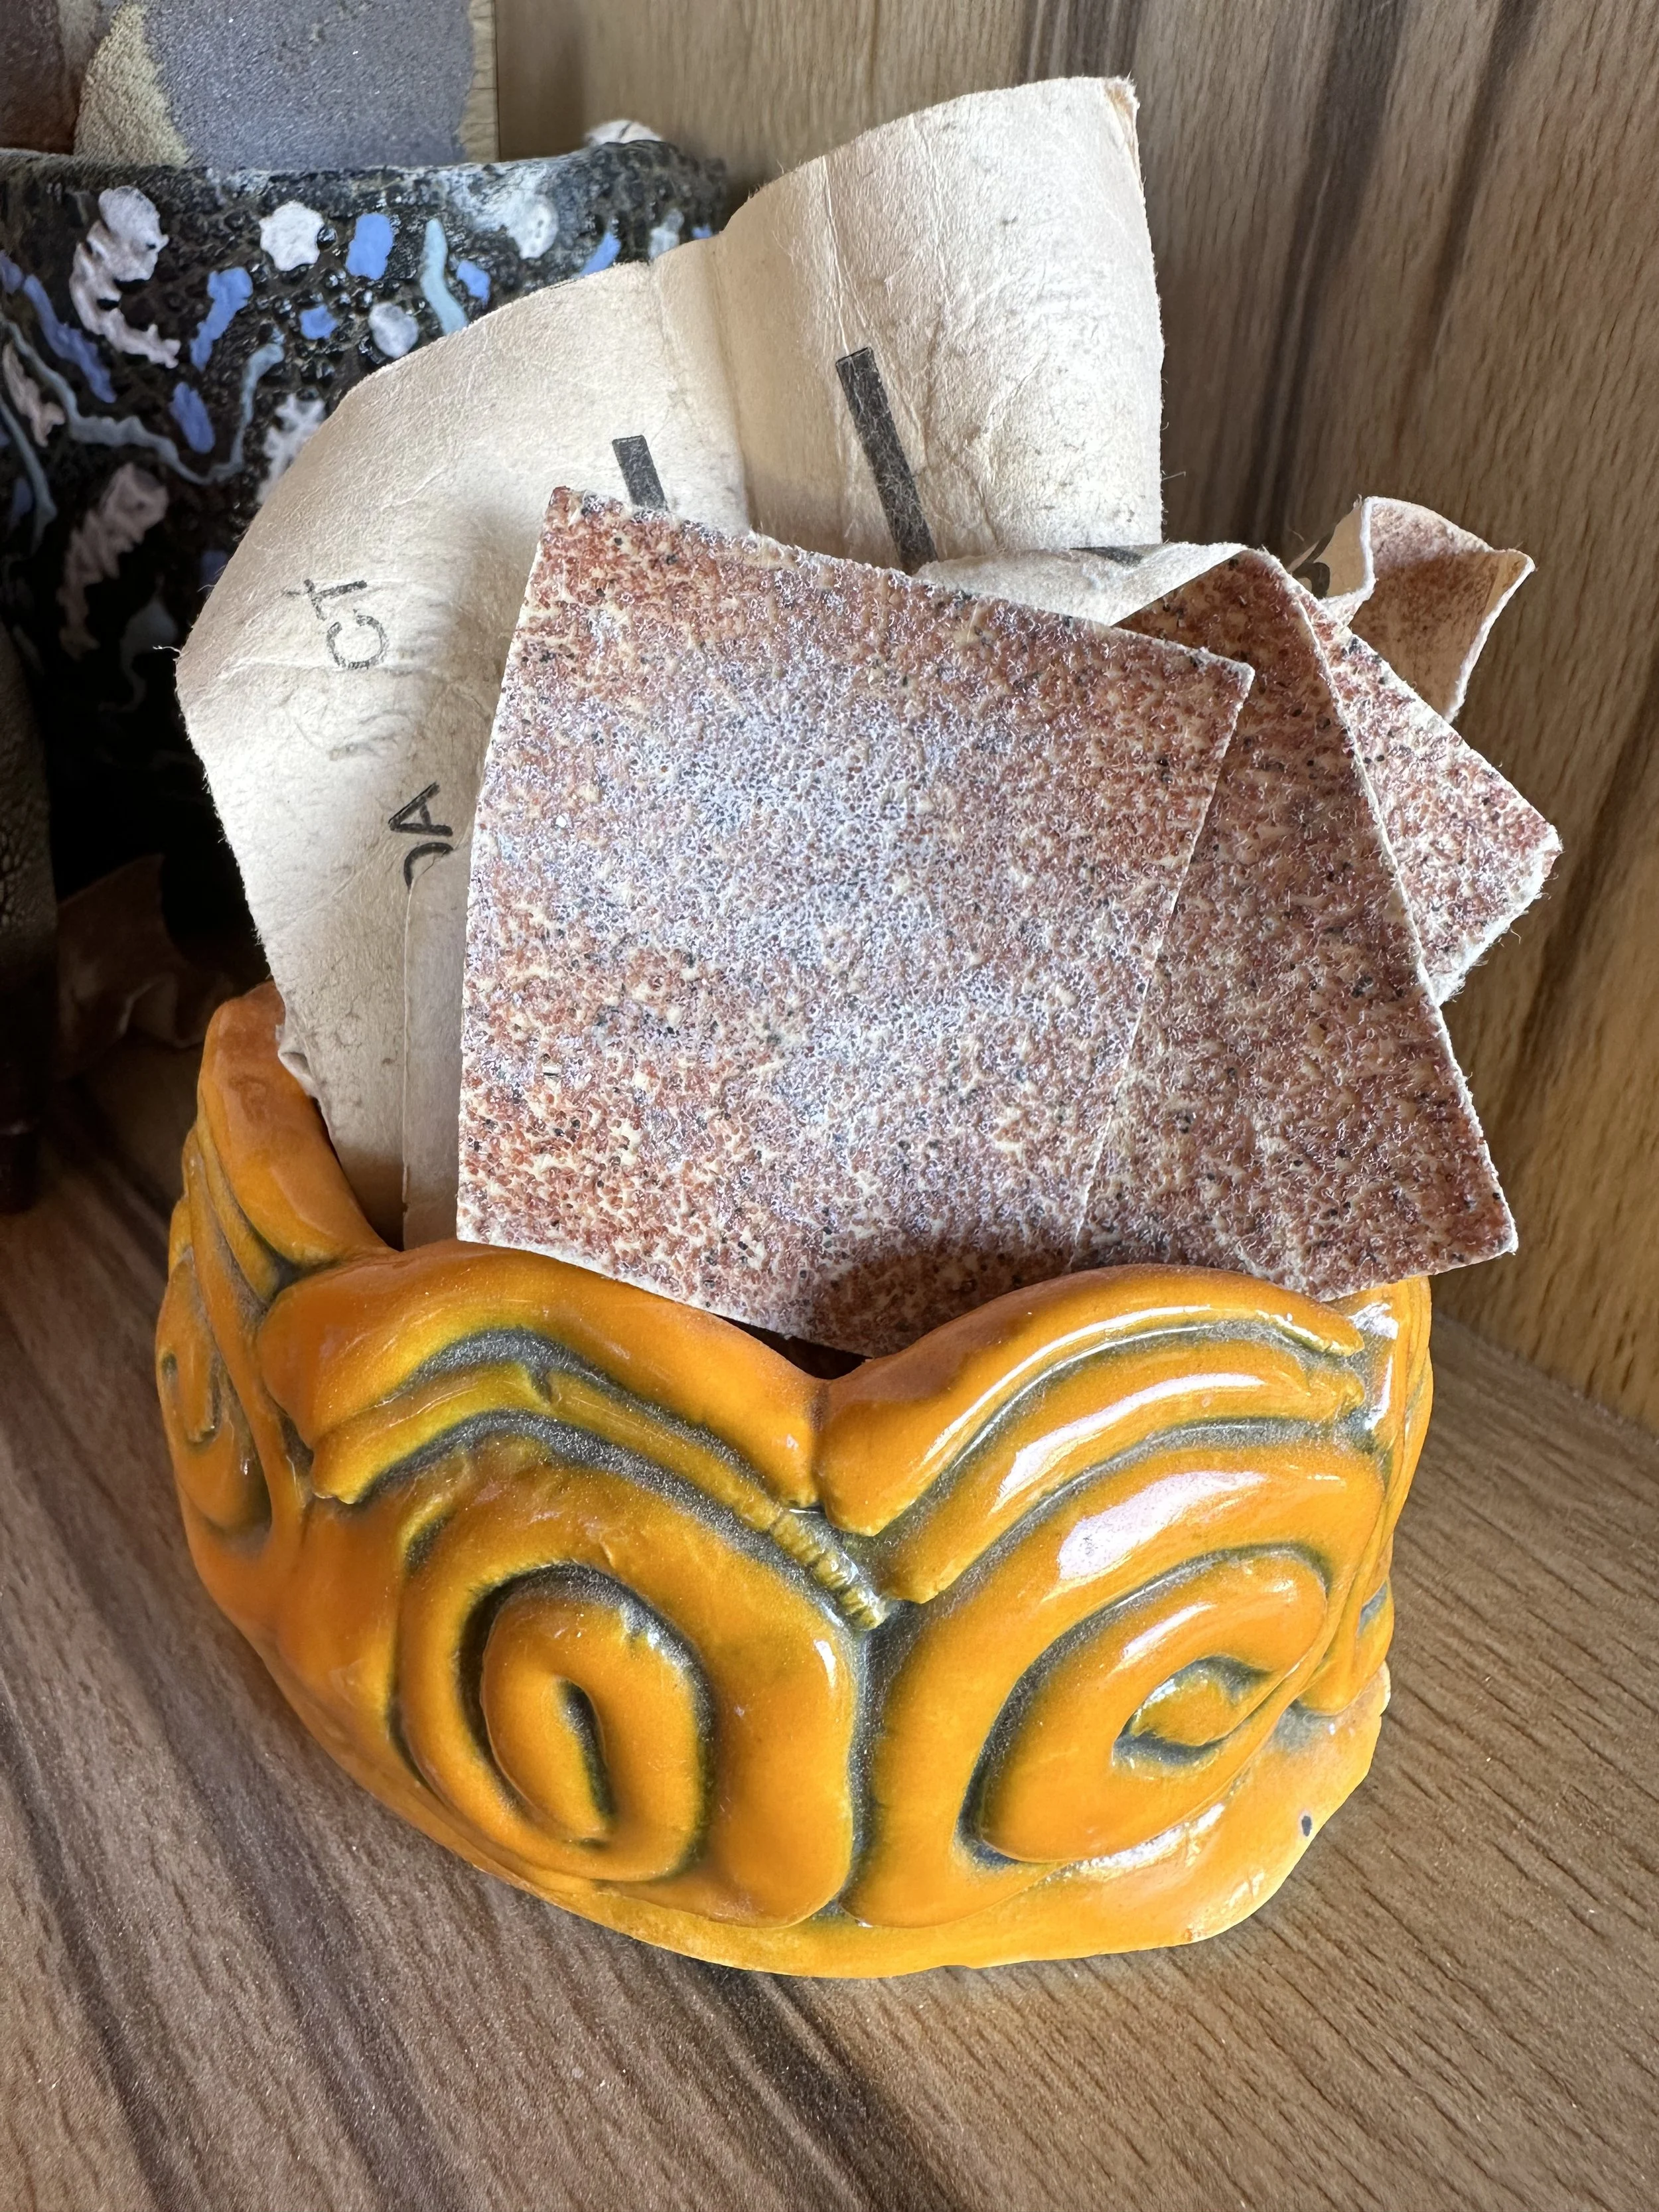
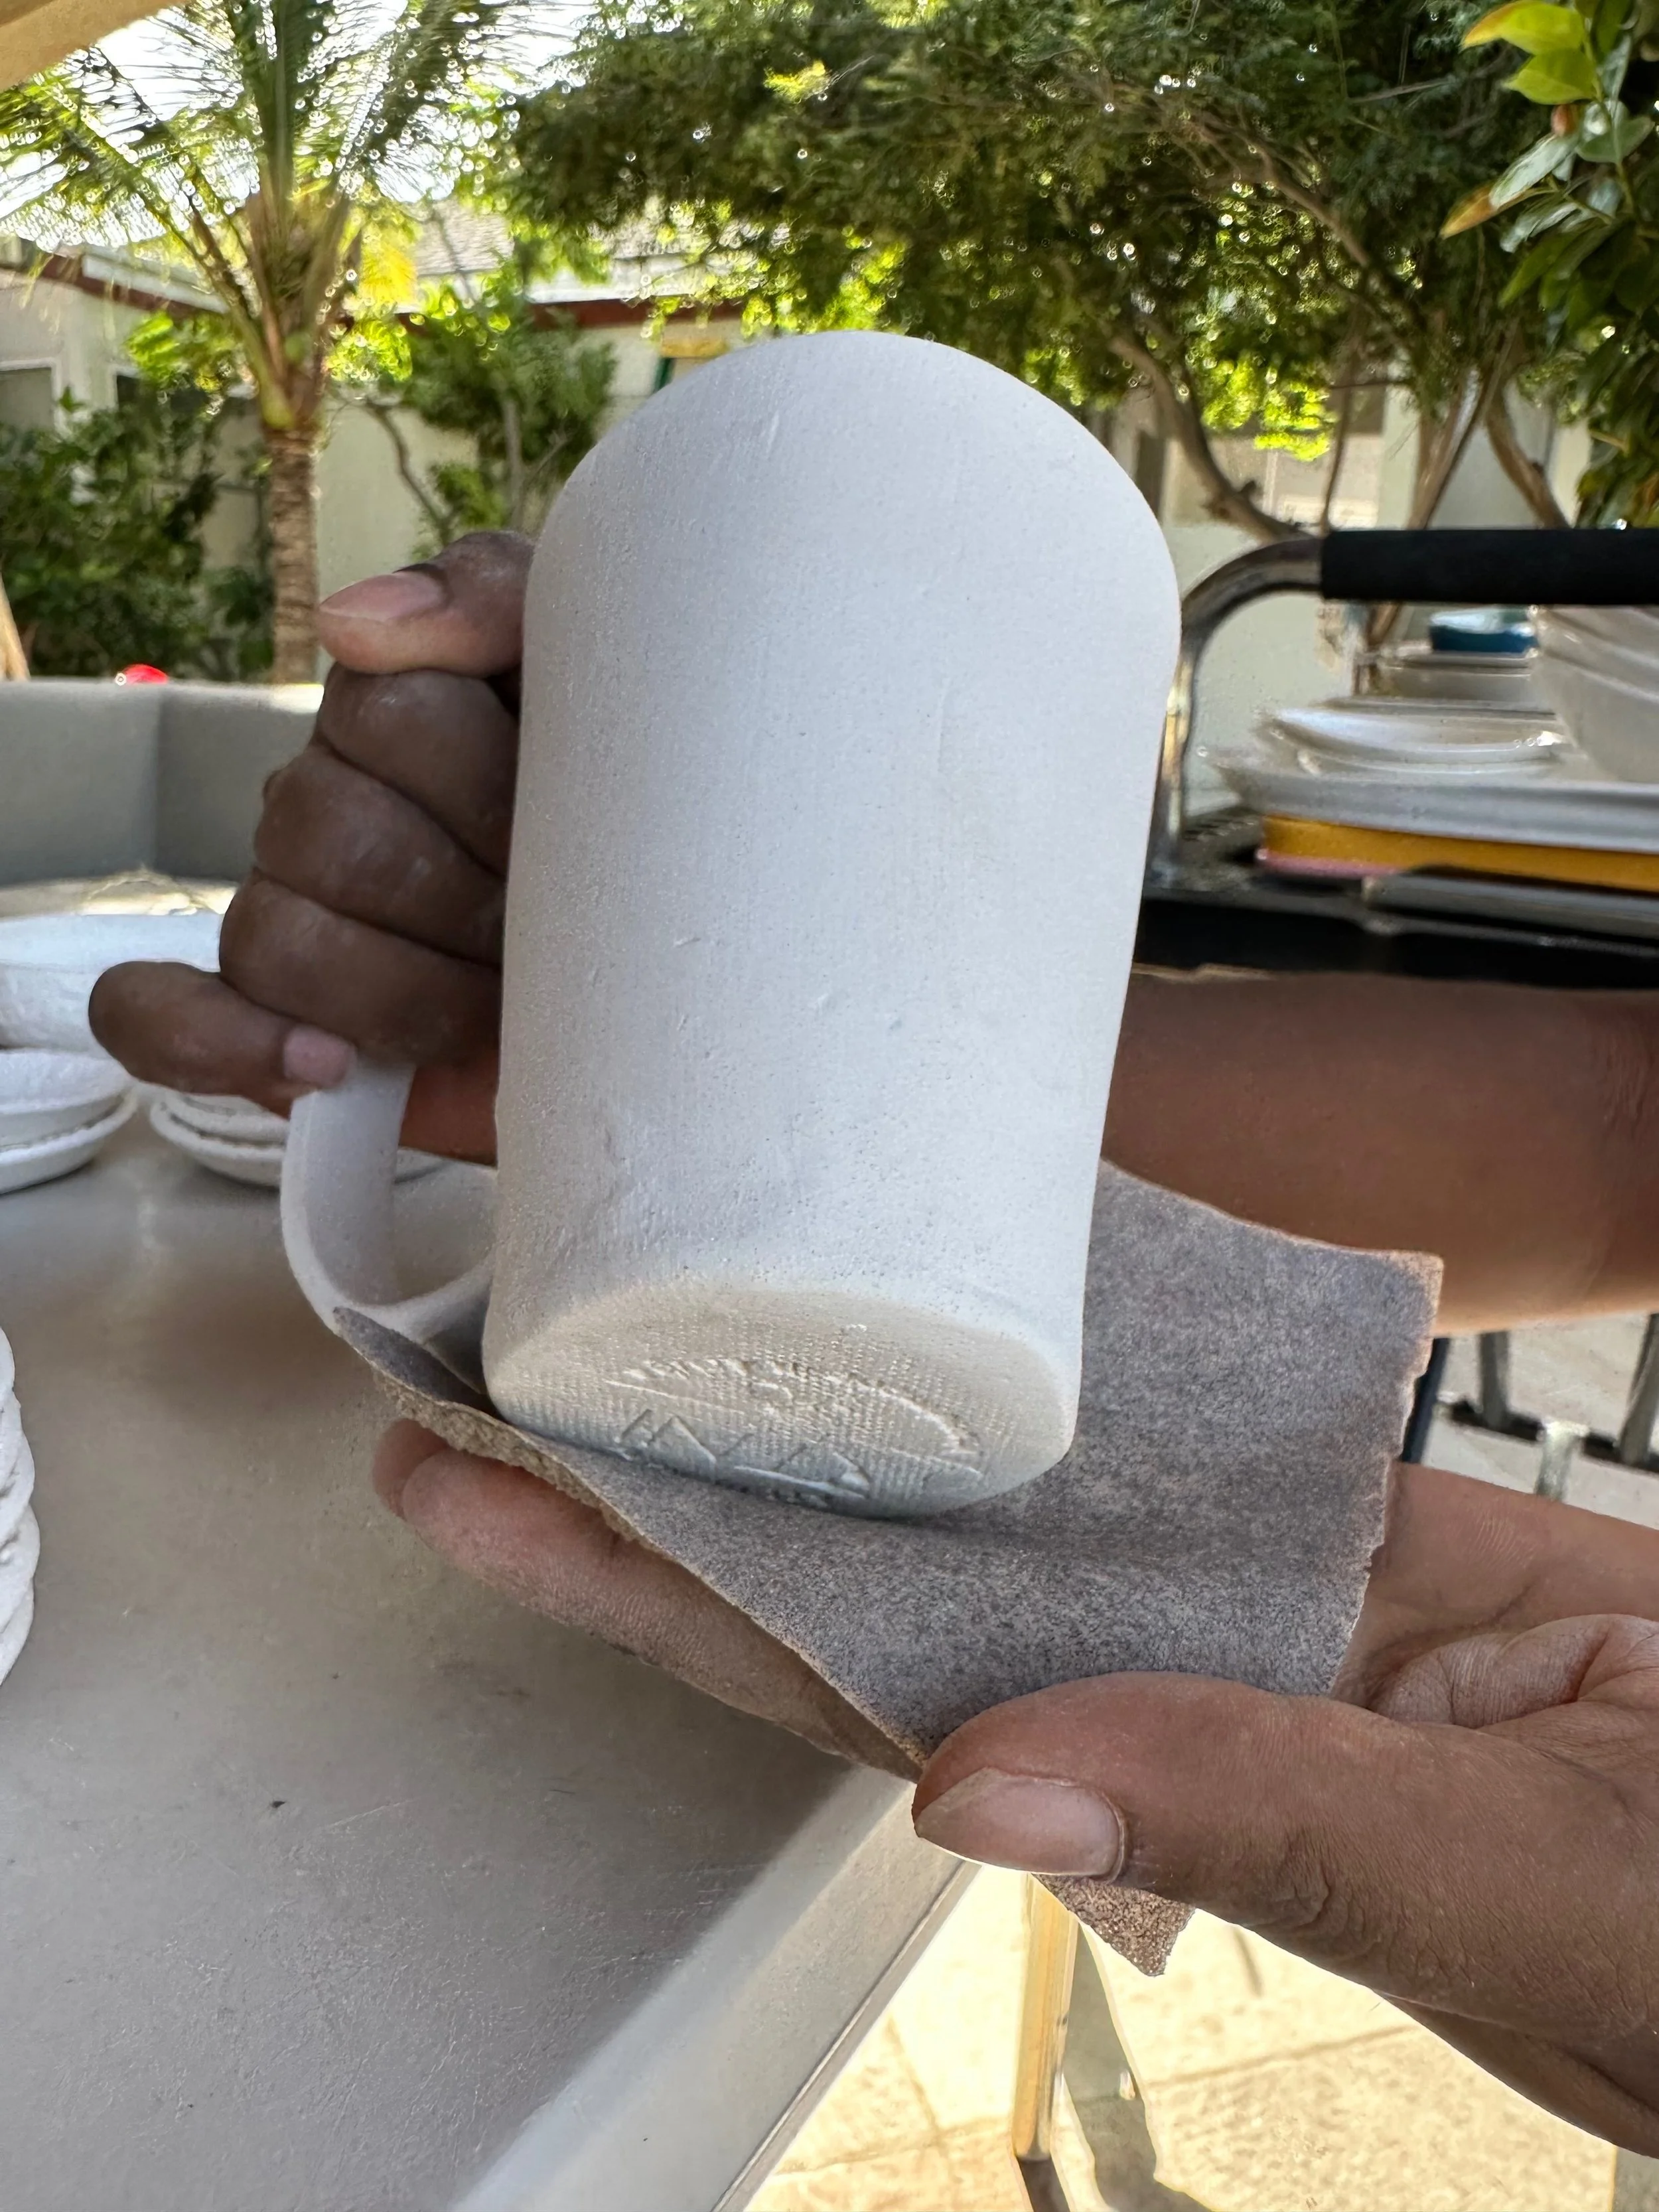
Step 5: Sanding
When it’s time to take the pieces out of the kiln, we make sure each one feels smooth to the touch. To achieve this, we usually sand each piece along all its edges and then proceed to clean off the dust created by this process.
Step 6: Glazing
Once the pieces are smooth and clean, we pick the glaze we want, considering whether the clay is high or low fire. There are a couple of ways to glaze—using brushes to paint it on, or dipping the piece into a bowl of glaze, which is faster. However, dipping isn’t always an option for certain pieces.


Step 7: Second Firing
Once the glaze is dry, we usually wipe off any excess with a damp sponge. After making sure the pieces are ready for color, we arrange them in the kiln and follow the same process as the first firing. Then we wait for the right time to remove the pieces and see the final result of our handmade work.
